Why a vocal can distort without reaching 0 dBFS
A digital level reading tells you how close the converted signal came to full scale. It says nothing direct about what happened upstream. A loud singer close to a sensitive condenser can push the microphone's electronics, or the preamp feeding the interface, into distortion while the converter receives a signal that is already bent out of shape but still sits below full scale. Digitally, nothing was exceeded, so nothing warns you.
Manufacturer documentation is where each stage's limits live. Shure's PGA27 user guide, for example, includes maximum SPL ratings, pad behavior, phantom power and connection requirements [S1]. Those figures apply to that one model, but the lesson carries over: every stage in a vocal chain has its own ceiling, and a clean-looking meter covers only part of the path.
- A healthy recorded peak does not prove the microphone or preamp had headroom.
- Rounded, soft-edged peaks can still be distorted.
- Low readings rule out digital clipping, not overload in general.
What a distorted vocal waveform shows, and what it hides
Many people zoom in, look for flat tops, find none and assume the file is fine. Analog overload often produces rounded peaks rather than the brick-flat edges of digital clipping, and later gain changes can make even flattened sections look ordinary. In one Reddit thread, a single first-person anecdote rather than verified evidence, an engineer described receiving a voice recording that sounded overdriven yet showed no obvious flat waveform, and said ordinary tools could not restore it cleanly [R1].
Treat the waveform as a hint, not a verdict. Listen to the loudest syllables, hard consonants and sustained high notes. Distortion that appears only on peaks and disappears on quieter phrases suggests a level-dependent overload somewhere, rather than a constant fault like a damaged cable or room noise.
Trace the stages in order: mic, preamp, converter, plugins
Work from the source forward. The microphone can overload if sound pressure exceeds what its capsule and internal electronics handle at the current pad setting. The preamp can run out of room if its gain is set too high. The converter is the stage reflected in the raw recorded clip's level or a pre-processing input meter. Be careful which meter you read: many DAW track meters can be set to show level after inserts or after the fader, so confirm your meter's tap point before trusting it as a converter reading. Plugins on the record path, monitoring chains, or forgotten saturation inserts can also add distortion that sounds like a recording fault.
Write down every stage and setting before changing anything. A written chain stops you from fixing two things at once and never learning which one mattered.
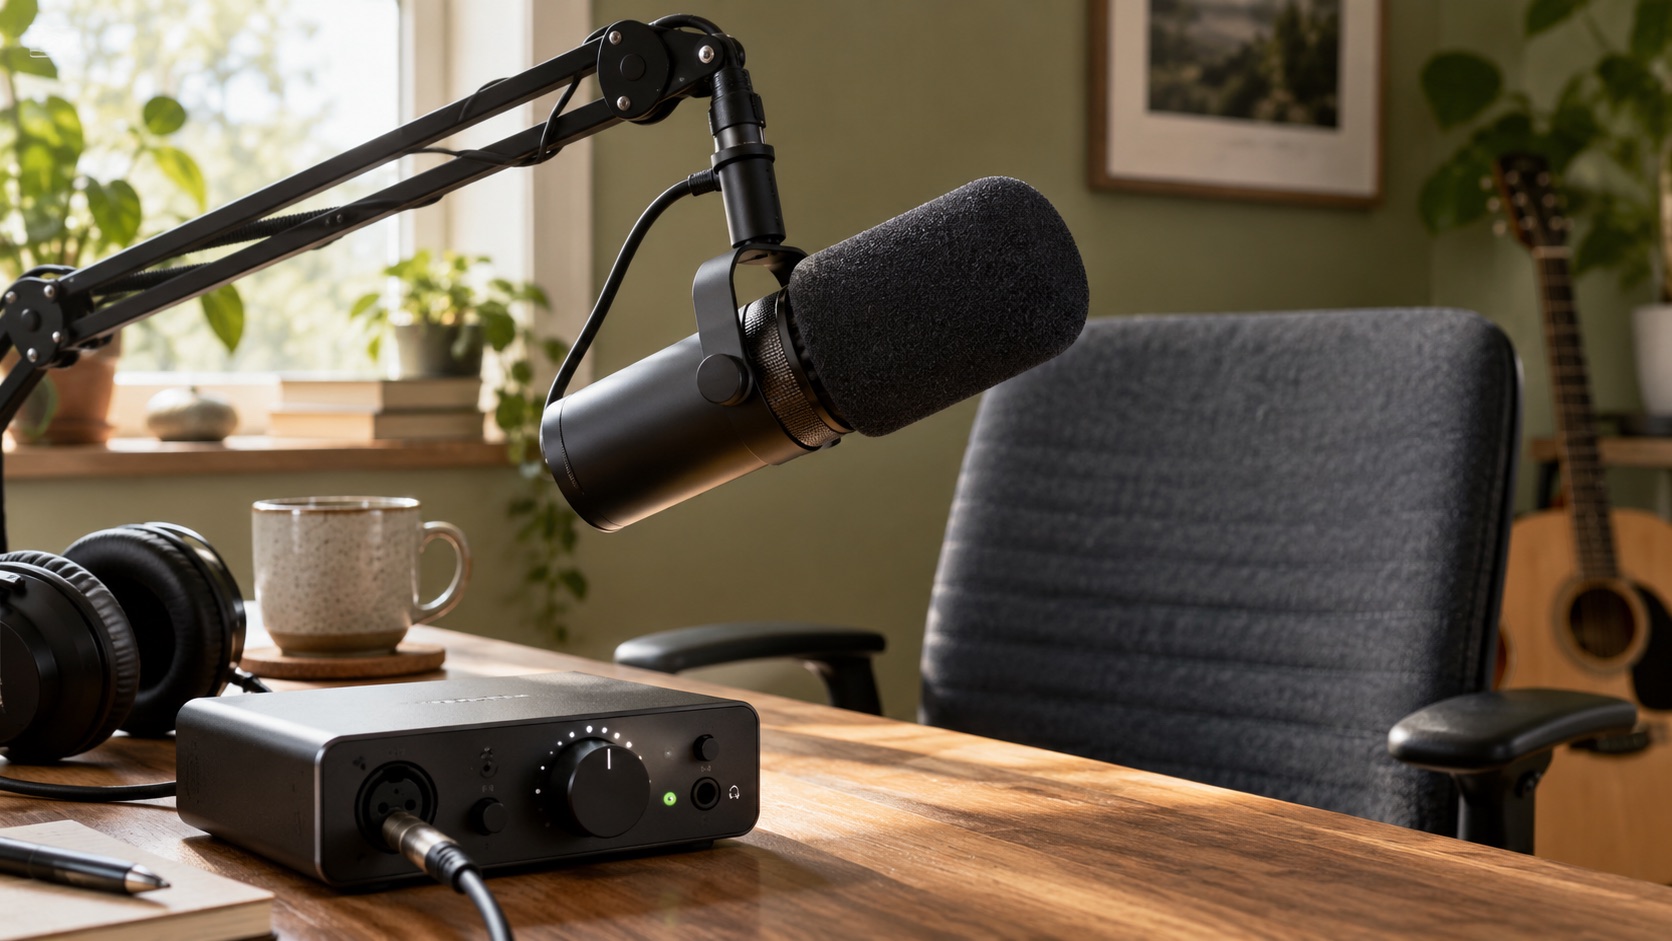
- Microphone: model, pad switch, pattern, distance from the singer.
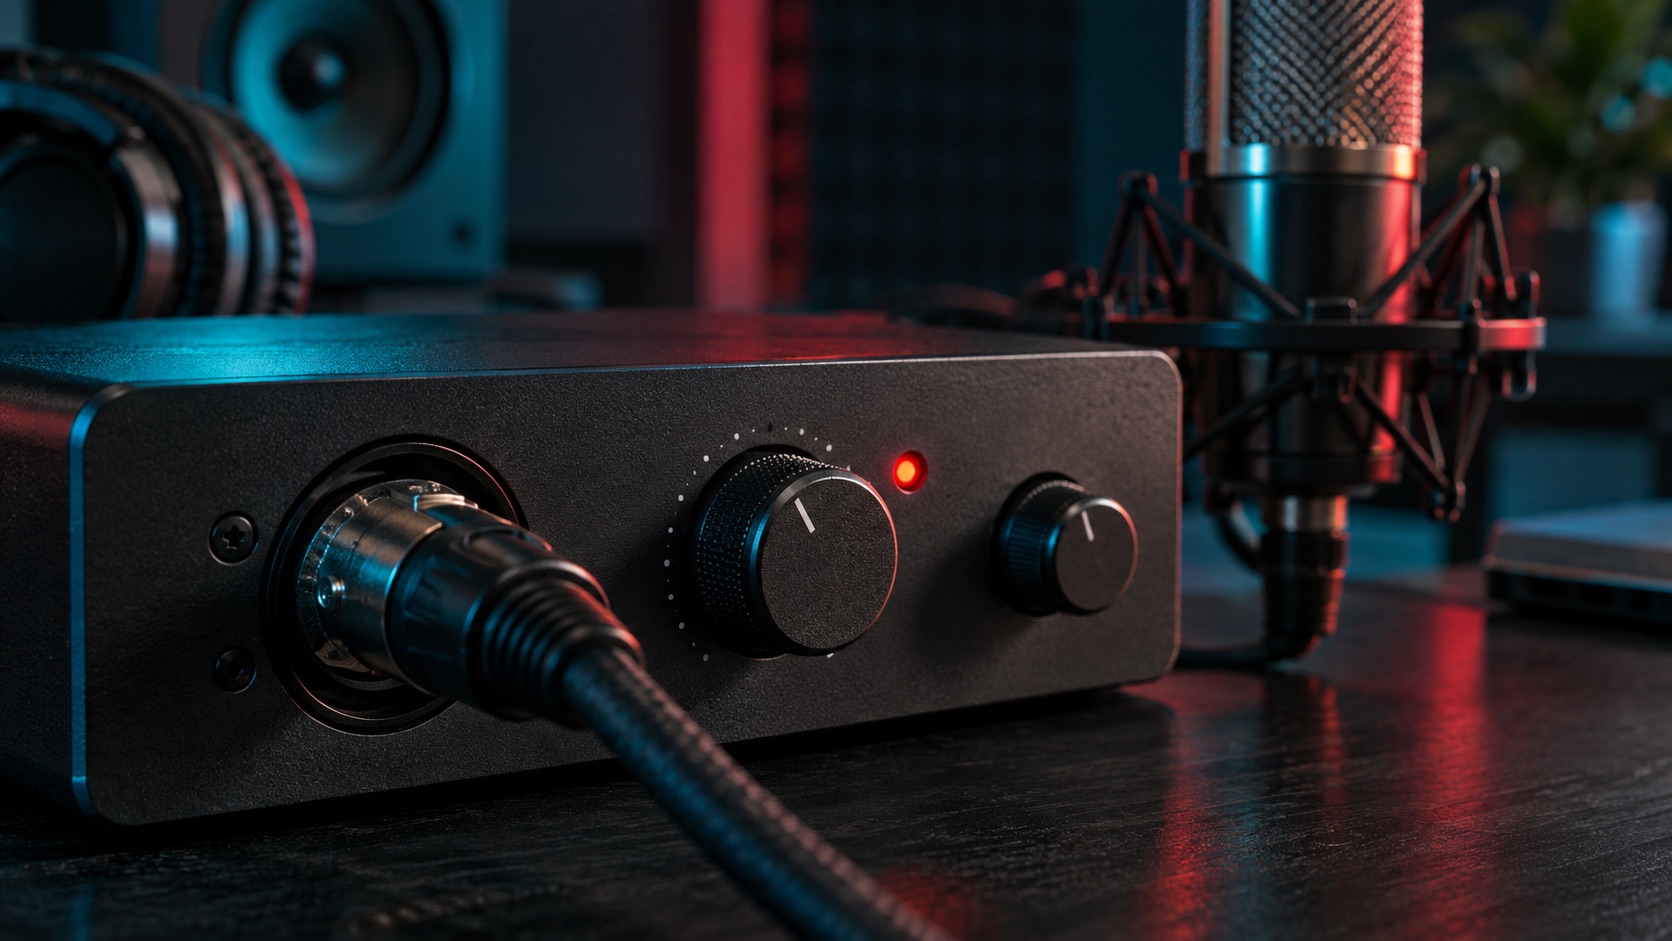
- Interface or preamp: gain position, selected input type, any onboard pad.
- Converter: peak level of the raw recorded clip, with meter tap point noted.
- Processing: inserts on the track, bus and monitoring path.
Compare the raw capture with processing bypassed, then check playback
Bypass every plugin on the vocal track and its bus, then solo the clip. If you recorded through interface DSP or a monitoring chain, confirm whether those effects were printed or only heard while tracking. Check sends and bus routing too, since a forgotten parallel path can reintroduce processing you thought was off. If the distortion vanishes, you likely have a plugin gain-staging issue that lowering the effect's input may resolve.
If the distortion remains, do not conclude yet that the capture is damaged. Export the raw clip and play it at a moderate level through a different, known-good path, such as another computer, a separate audio device and different headphones or speakers. An overdriven headphone amp, output stage or speaker can create distortion that is not in the file. Only if the sound persists on the alternate path is it reasonable to treat it as printed into the recording. Label that export as your untouched reference.
Repeat a loud phrase at lower gain and greater distance
Record the same loud phrase several ways. First, lower preamp gain noticeably at the same distance. Then restore the original gain and have the singer step back. If lowering gain cleans it, the preamp stage becomes a stronger suspect. If only distance helps, that narrows things but does not settle them: reducing the sound reaching the microphone also eases the microphone's electronics, the preamp's input stage and plosive bursts, while a gain knob may act after the point of overload. Use your model's specifications, where its pad sits in the chain and further controlled comparisons before naming a culprit.
Keep the test controlled: same phrase, same intensity, every take labeled. Match playback levels when comparing, because a louder take tends to sound better and can mislead you.
- Take A: original settings.
- Take B: lower gain, same distance.
- Take C: original gain, greater distance.
- Take D: microphone pad engaged, if available, with gain raised to compensate.
- Optional Take E: pop filter or slight off-axis angle, to separate plosives from level overload.
Check pad and input-mode settings in the manual
Pads and input modes are easy to misread. The PGA27 guide covers pad behavior, phantom power and connection requirements [S1], exactly the details to confirm before assuming a fault. A pad on the microphone and a pad or input selection on the interface act at different points, so engaging one is not automatically equivalent to the other. Your manual should tell you where each control sits.
Do not guess at ratings or switch functions; read the manual for your exact model and ask the manufacturer when it is unclear. For suspected phantom power or connection problems, check settings and swap known-good cables, but leave any internal inspection or repair of microphones, interfaces or power supplies to the manufacturer or a qualified technician.
Decide whether rerecording beats restoration
When the singer is available and the distortion is confirmed in the raw capture, rerecording is usually the more predictable choice. De-clipping and spectral repair tools estimate what the signal might have been. Outcomes vary: some material improves noticeably, some barely changes, and nothing guarantees that detail lost to the overload comes back. The stubborn case described in the Reddit anecdote [R1] is one example of repair falling short, not evidence of how often that happens.
Restoration is worth trying when the performance is irreplaceable, the distortion touches only a few syllables, or the vocal will sit in a dense mix. Weigh session cost against repair hours and the risk that the result still sounds processed.
- Lean toward a retake: singer available, distortion widespread, exposed vocal.
- Lean toward repair: irreplaceable performance, problem limited to a few peaks.
- Either way: fix the chain first.
Hypothetical worked example
Hypothetical scenario: a home producer records a belted chorus with a condenser about a hand-width from the singer. The raw clip peaks well below 0 dBFS, yet the loudest words sound fuzzy. With plugins bypassed and the file played on a second computer with different headphones, the fuzz remains, so it appears printed. Lowering preamp gain barely helps, but moving the singer back and engaging the microphone pad cleans the test phrase.
That points toward overload before the gain control, possibly in the microphone or the interface input stage, though it does not prove which. The producer notes the result, asks the interface maker how its gain stage is arranged, rerecords two chorus lines at the new distance with the pad engaged, keeps the clean verses and archives the original takes untouched.
Red flags, verification and when to escalate
Be skeptical of any plugin, service or post promising complete or invisible distortion removal. Ask for before-and-after samples similar to your material and judge them level-matched. Be wary of advice to add deliberate clipping or saturation as a universal fix; it may disguise a problem in some mixes, but it is a taste choice, not a repair. Forum anecdotes describe one situation and do not show how common a problem is.
Escalate when tests are inconclusive or suggest hardware: distortion at low gain, crackle when cables move, or problems on every microphone. Send the manufacturer your labeled test takes and settings. For a valuable, unrepeatable performance, a professional restoration engineer may get further than consumer tools; request a trial on a short excerpt first. Always work on copies and audition repairs in the full mix, not only soloed.
Your next steps
- Duplicate and archive the original vocal files before any repair attempt.
- List every stage and setting, and confirm which point your meter actually reads.
- Bypass all plugins and check sends, buses and monitoring chains.
- Play the raw file through a second known-good playback path at moderate level.
- Record the same loud phrase at lower gain, then at greater distance, labeling each take.
- Read your exact microphone and interface manuals for pad, phantom power and connection guidance.
- Choose a retake if the singer is available and the raw capture is confirmed distorted.
- Audition any restoration level-matched and in the full mix.
- Contact the manufacturer or a qualified technician if tests point to a hardware fault.
Questions that come up next
Why does my vocal sound distorted when the meter never hit 0 dBFS?
A level meter reflects the converted digital signal, or sometimes the signal after plugins and faders, depending on its tap point. The microphone or preamp can overload earlier while the converter stays below full scale. Your playback system can also distort. Check a second playback path, then test with lower gain and greater distance to find the responsible stage.
Can I repair clipped vocals with a de-clipping plugin?
Sometimes partly. De-clipping and spectral tools estimate missing detail and can soften harshness, but results vary and there is no guarantee they recover what the overload destroyed. Severity and spread of the damage matter. Work on a copy, compare level-matched against the original, and judge the result in the full mix rather than soloed.
Is preamp overload or microphone overload more likely?
It depends on the setup, so test rather than assume. If lowering preamp gain cleans the sound, the preamp becomes a stronger suspect. If only distance or a pad helps, overload probably happened before the gain control, but that could be the microphone or the interface input stage. Check manuals and ask the manufacturer when documentation is unclear.
Sources & further reading
Community discussions identify lived problems; they do not establish technical or legal requirements. Primary references support the specific claims cited above.
- R1 / COMMUNITY DISCUSSIONHow to remove an unwanted overdrive distortion effect on a voice recording that is not clipped ↗
- S1 / PRIMARY REFERENCEShure PGA27 User Guide ↗